Do Not Wait: Address Leaks Promptly
Water leaks in your home can be more than just a minor inconvenience; they can lead to significant damage if not addressed promptly. When water seeps into your walls, floors, and ceilings, it can cause structural damage, weaken the foundation, and create an environment conducive to mold growth.
Why It Is Important to Address Water Leaks Promptly:
- Prevent Structural Damage: Water can weaken the structural integrity of your home, leading to costly repairs. Wood can rot, drywall can become saturated and crumble, and metal can rust and corrode.
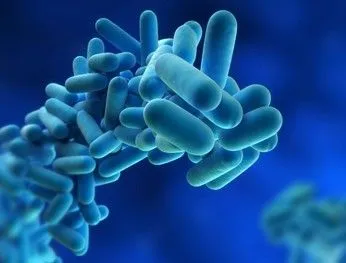
- Avoid Mold Growth: Mold thrives in damp environments and can begin to grow within 24-48 hours of water exposure. Mold not only damages your property but can also pose serious health risks, including respiratory issues and allergic reactions.
- Protect Your Belongings: Water damage can ruin personal belongings such as furniture, electronics, and cherished keepsakes. Prompt action can help salvage these items and minimize loss.
- Save Money: The longer a water leak goes untreated, the more extensive and expensive the repairs can become. Addressing leaks quickly can save you money in the long run by preventing more severe damage.
- Maintain a Healthy Living Environment: Standing water and damp conditions can attract pests like insects and rodents, which can further damage your home and create unsanitary conditions.
By taking immediate action when you discover a water leak, you can mitigate these risks and protect your home and health. In this guide, the following steps cover how to address a water leak, from identifying the source to ensuring the home is dry and mold-free.
Step 1: Identify the Source of the Leak and Stop the Flow
Turn Off the Water Supply
The first step when you discover a water leak is to turn off the water supply to prevent further damage. This helps limit additional structural damage, reduce the risk of mold growth, and protect your belongings. Locate your home’s main shut-off valve and turn it off. If you’re unsure how to do this, consider contacting a professional for assistance.
Locate the Water Leak
Once you’ve turned off the water supply, the next step is to locate the source of the leak. Here are some tips to help you find it:
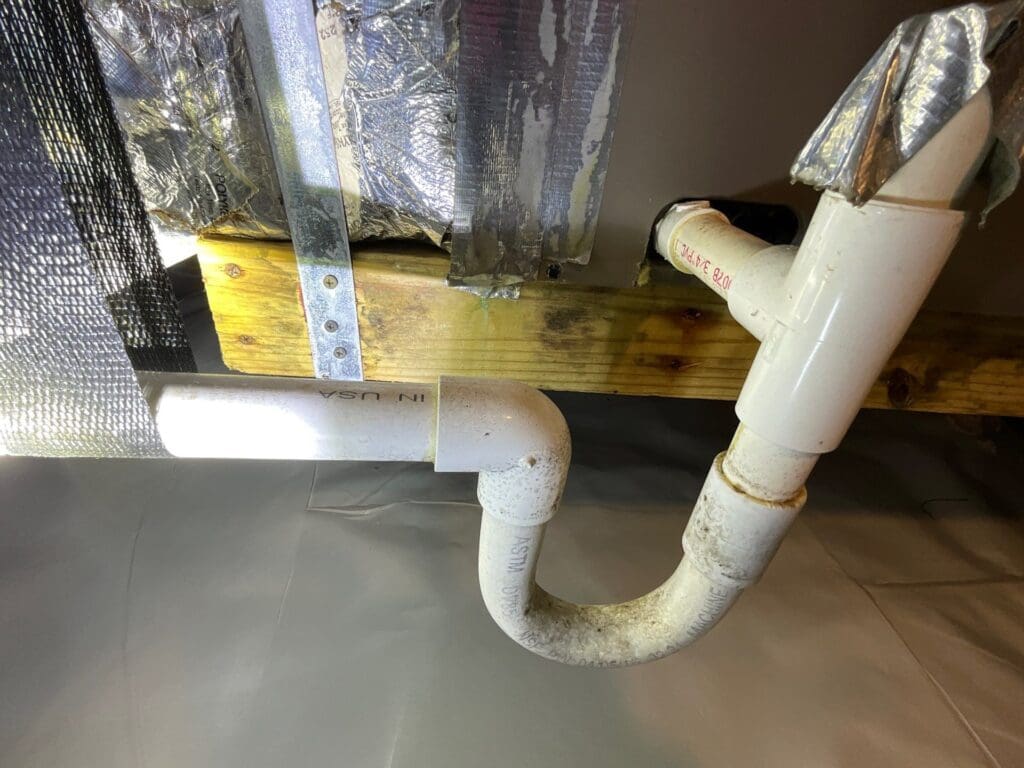
- Check Common Areas: Inspect areas where leaks are most likely to occur, such as under sinks, around appliances (like dishwashers and washing machines), in the basement, and near water heaters.
- Look for Signs of Water Damage: Look for water stains, damp spots, or discoloration on walls, ceilings, and floors. These can indicate where the water is coming from.
- Listen for Dripping Sounds: Sometimes, you can hear the sound of water dripping or running, which can help you pinpoint the leak’s location.
What to Do If the Source Is Not Easily Found
If you can’t easily find the source of the leak, it’s important to get professional help. EnviroPro 360 can assist with leak detection using specialized equipment and techniques to locate hidden leaks. Professional leak detection can save time and prevent further damage by accurately identifying the problem area.
Step 2: Contact Insurance and Assess the Extent of Damage
Document the Damage
When you discover water damage in your home, it’s crucial to document everything thoroughly for insurance purposes. Taking photos and videos of the affected areas can provide clear evidence of the damage, which is essential when filing an insurance claim. Here’s why this step is important:
- Proof of Damage: Clear, detailed photos and videos serve as proof of the extent of the damage, helping to support your insurance claim.
- Insurance Claims: Proper documentation can expedite the claims process, ensuring you receive the compensation needed for repairs.
- Record Keeping: Keeping a record of the damage can also be useful for future reference, especially if you need to track the progress of repairs or if additional issues arise later.
Make sure to capture images from multiple angles and include close-ups of particularly damaged areas. This thorough documentation will be invaluable when working with your insurance company.
Step 3: Remove Standing Water and Dry the Area
Remove Standing Water
Using a wet/dry vacuum is an effective way to remove standing water from your home. This step is crucial to prevent further damage and reduce the risk of mold growth. Additionally, removing carpets, furniture, and personal belongings from the affected area allows them to dry separately and helps ensure the area gets fully dry.
Dry the Area
After removing standing water, it’s essential to use fans and dehumidifiers to completely dry out the area. Fans help to circulate air, speeding up the drying process, while dehumidifiers remove excess moisture from the air. This combination is crucial to prevent structural damage and mold growth. Mold can begin to grow within 24-48 hours if the area remains damp, leading to potential health risks and further damage to your home. Ensuring the affected area is thoroughly dried as quickly as possible is key to preventing these issues and making the space safe for repairs.
Step 4: Inspect for Mold
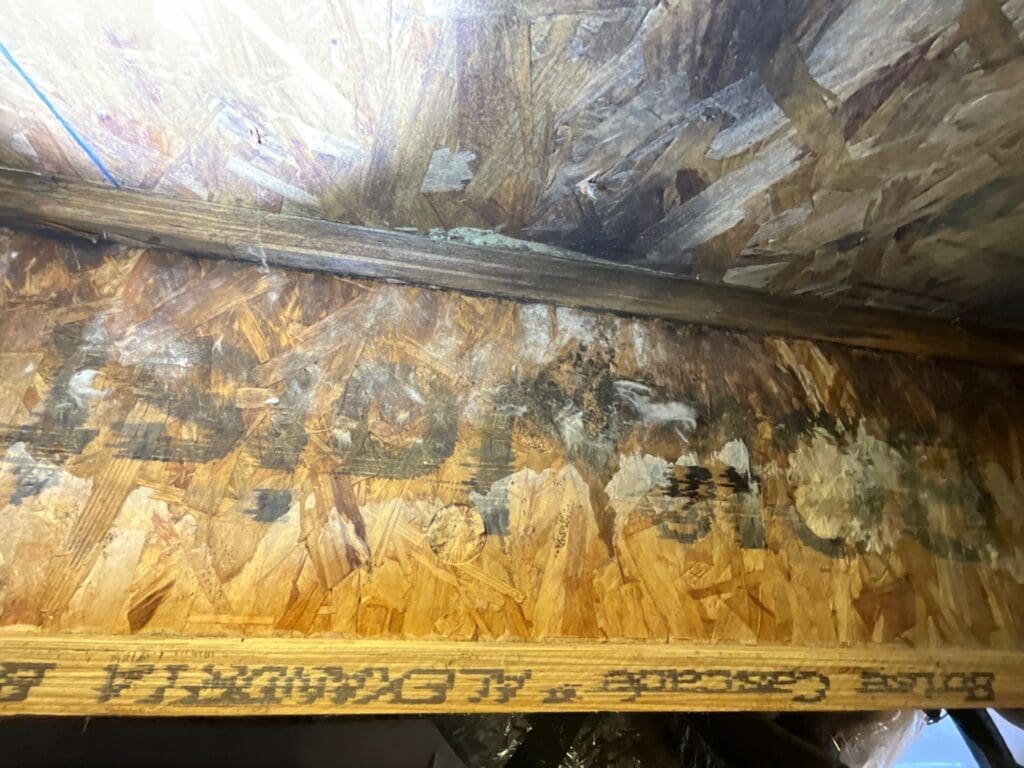
Before beginning remediation, it’s crucial to conduct a thorough mold inspection. Mold can start growing within 24-48 hours of water exposure, so if the water was present for more than 48 hours, a mold inspection is essential. Look for visible signs of mold, such as discoloration and musty odors. However, mold can often be hidden behind walls, under floors, or in other concealed areas. If the damage is extensive or if you suspect hidden mold, it may be necessary to hire a professional mold inspector. Professionals have the tools and expertise to detect mold that isn’t visible to the naked eye, ensuring that all mold is identified and addressed before remediation begins. This step is vital to prevent health risks and ensure the effectiveness of the remediation process.
Step 5: Begin Remediation
During mold remediation, professionals follow a systematic process to ensure all mold is effectively removed and the area is restored to a safe condition. Here’s what typically happens:

- Containment: The affected area is sealed off to prevent mold spores from spreading to other parts of the home. This often involves using plastic sheeting and negative air pressure machines.
- Removal of Contaminated Materials: Mold-infested materials, such as drywall, insulation, and carpeting, are carefully removed and disposed of. This step is crucial to eliminate the source of mold growth.
- Cleaning and Disinfection: Surfaces are thoroughly cleaned and disinfected using specialized solutions to kill mold spores. This includes scrubbing hard surfaces and using HEPA vacuums to capture mold particles.
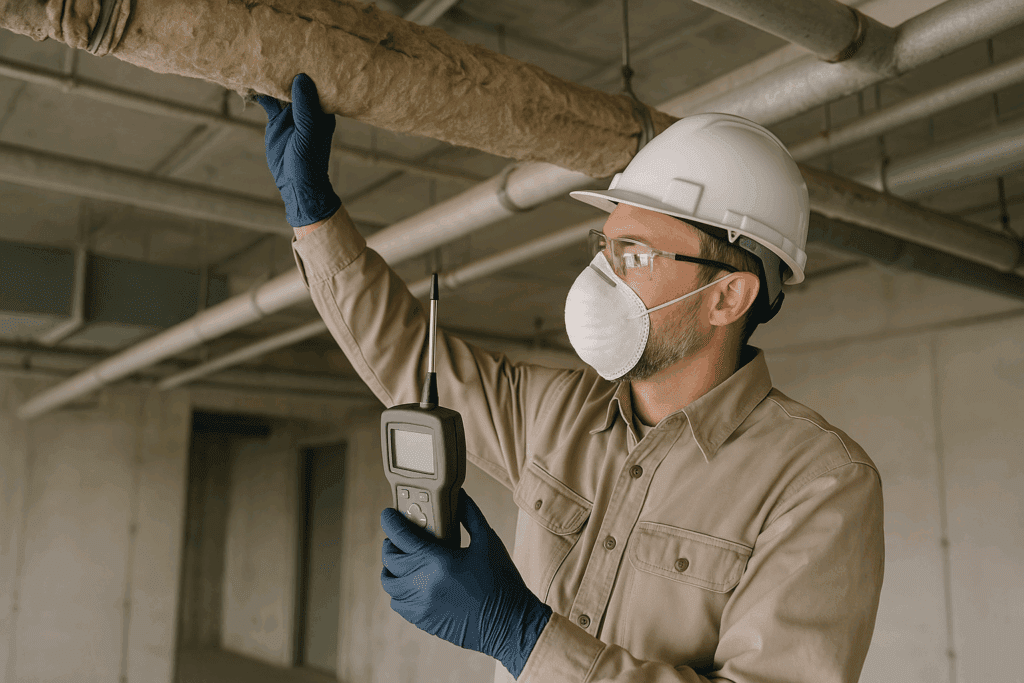
- Moisture Monitoring: Throughout the remediation process, a moisture meter is used to monitor the moisture levels in walls, floors, and other affected areas. This ensures that the area is thoroughly dried and helps identify any remaining moisture that could lead to future mold growth.
- Restoration: Once the mold is removed and the area is dry, repairs are made to restore the home to its original condition. This may involve replacing drywall, painting, and installing new flooring.
Using a moisture meter throughout the remediation process is critical. It helps professionals ensure that all moisture has been eliminated, reducing the risk of mold returning and ensuring the effectiveness of the remediation efforts.
Step 6: Follow-Up Mold Testing
Follow-up mold testing helps ensure that all mold has been effectively removed and that the area is safe. This testing is typically needed in several scenarios:
- Persistent Moisture: If moisture readings remain high after remediation, follow-up testing can help determine if mold is still present.
- Previous Mold Detection: If mold was detected during the initial inspection, follow-up testing ensures that the remediation was successful and that no mold remains.
- Health Concerns: If occupants experience health issues such as allergies or respiratory problems after remediation, follow-up testing can identify any lingering mold that might be causing these symptoms.
- Extensive Damage: In cases of extensive water damage, follow-up testing provides peace of mind that all mold has been addressed and that the area is safe for occupancy.
Conducting follow-up mold testing helps confirm the effectiveness of the remediation process and ensures a healthy living environment.
Final Thoughts
At EnviroPro 360, the focus is on thorough mold testing and effective leak detection. The team coordinates with your remediation contractor to ensure all mold is identified and addressed, providing follow-up testing to confirm the success of that process. Additionally, EnviroPro 360 assists in tracing the source of the leak, making the detection process comprehensive and accurate. To schedule mold testing or leak detection services in Augusta or the surrounding CSRA region, contact EnviroPro 360.
EnviroPro covers the southeast region surrounding Augusta, GA including the Georgia cities of: Augusta, Savannah, Macon, Warner Robins, Athens, Martinez, Statesboro, Evans, Milledgeville, Grovetown, and the South Carolina cities of: Columbia, Greenville, North Charleston, Rock Hill, Summerville, Sumter, Spartanburg, Hilton Head Island, Aiken, Anderson, Greenwood, Greer, Wade Hampton, Taylors, Mauldin, North Augusta, Bluffton, Lexington, Goose Creek, Newberry.